Tuesday, April 26, 2011

Little Pink Studio's Easter Basket Swap 2011


Have you ever participated in a swap?
If you have, you know how fun they are. If not, you just gotta.
They're so fun!!
When I heard the word that Cerri (Little Pink Studio) was hosting an Easter Basket swap, I jumped at the chance to join in the fun.
Just look at the pretty basket I received!


I was paired with Karen (Recycled Rita).
I couldn't have had a more perfect partner!
Look at all the fabulousness she sent me!
My basket was overflowing with fun and beautiful things. Can you spot the cute egg cups? The little chick is extra cute!
She sent me lots of fun bits to create with too. I love it all!!
Check out the handmade cuff. It is gorgeous!
Oh, and anything velvet... makes my heart swoon.


Karen was so kind to send along some special treats for Sydney and Daphne too.
They were so excited!


I was spoiled, and I love it! Thanks so much Karen!
*************************************

Here is a peek at what I sent Karen.


So, next time you come across a swap that looks fun. Go for it.
You'll be so happy you did!

Monday, April 25, 2011

Papier Mache' Nests


This year, the girls and I made nests for our Easter table favors.
It was a fun project to do together, and we think they turned out pretty cute too!


If you're interested in making 'em, here's a little tutorial for you:


1. You'll need a bunch of shredded paper. (We used old book pages)


2. Find a suitable item to use as a form and cover with plastic wrap. (We used vintage jello molds)


3. Mix equal parts of Elmer's glue and water. Now is the time to solicit some workers. You'll love the extra help!


4. Dip paper into the glue mixture until saturated. Remove excess glue (so it doesn't drip too much) before layering on your form.


5. Using a few layers of paper, cover mold completely, leaving no gaps.


6. After your form is covered (and still wet), take a few dry pieces of shredded paper and apply randomly giving it a "nesty" look.


7. Allow to dry (10-12 hours).
When dry, fill with extra paper shred and yummy treats!

Monday, April 18, 2011

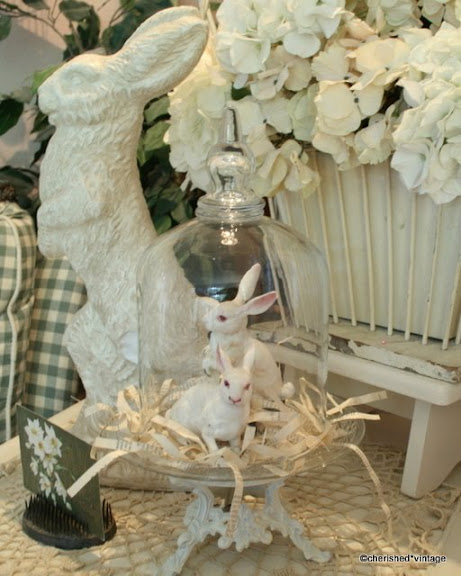
A Creamy Neutral Easter Color Palette


Last night, I got started on my Easter decorating.

I went for a creamy neutral theme this year.

The reason...

I had shredded a bunch of old book pages (for another project), and decided to use some of what I had leftover, for filler in my vignettes.


One thing I made, was this bunny silhouette. I put it together, in less than 5 minutes!

If you want to make one, this is how I made mine: first off, I printed a bunny image on card stock, then I cut it out, glued it to a page from a hymnal, and put it in an old frame - voila' instant art!


I tried to keep my decorations to a minimum - which is hard for me, 'cause I love lots of stuff!

Oh, I guess I did sneak in a wee bit of color, afterall...

Wednesday, April 13, 2011

Vintage Hats Make Cute Easter Baskets

Need a different idea for an Easter basket?
While antiquing in Portland, I found two vintage hats which I thought would make great Easter baskets. So that's what I created today.


I made a simple handle with wire that I covered with seam binding,


and added vintage millinery flowers 'cause they make everything prettier.


A cute repurpose, don't cha think?

Monday, April 11, 2011

Vintage Inspired Easter Bunny Treat Bucket


The other day, I made a few of these buckets.

Thought I'd share how I made them, in case you wanted to make one or four yourself. Ha!

I started with a 4" peat pot, and cut off the top rim.


Next, I needed a base for the ears, so I broke a Popsicle stick in half and hot glued the two pieces to the pot. After mixing up Fast Mache' according to the directions, I began covering the outside of the entire piece.


Once the outside of the pot was covered, I let it dry in the oven for an hour or so. When the outside was fairly dry, I covered the inside with Fast Mache', and let the whole piece completely dry in the oven.


I drilled two holes in the sides for a handle.


Base paint was next - I used pink.


After the pink paint dried, I used white for the top coat. I didn't cover the pink perfectly, because I wanted some pink to show under the white.


I then drew on the design of his face before I painted it.


To finish, I added a wire handle wrapped in tinsel, a crepe paper flower, and bow.


Tah -dah!


Thursday, April 7, 2011

Easter Bunnies


Bunnies have been multiplying around here - just in time for Easter!


I have recently listed each of these cuties, in my etsy shop.

Wednesday, April 6, 2011

Old Chocolate Tin


Last weekend, hubby and I went on our annual trip to Portland, with my folks. We had such a great time shopping, and dining without kids - I could never tire of this getaway! I bought a couple souvenirs while down there. Thought I'd share my first treasure with you. The roses had me at first sight!


Hope you all are having a great week! The girls are on spring vacation this week, and loving sleeping in - me too!